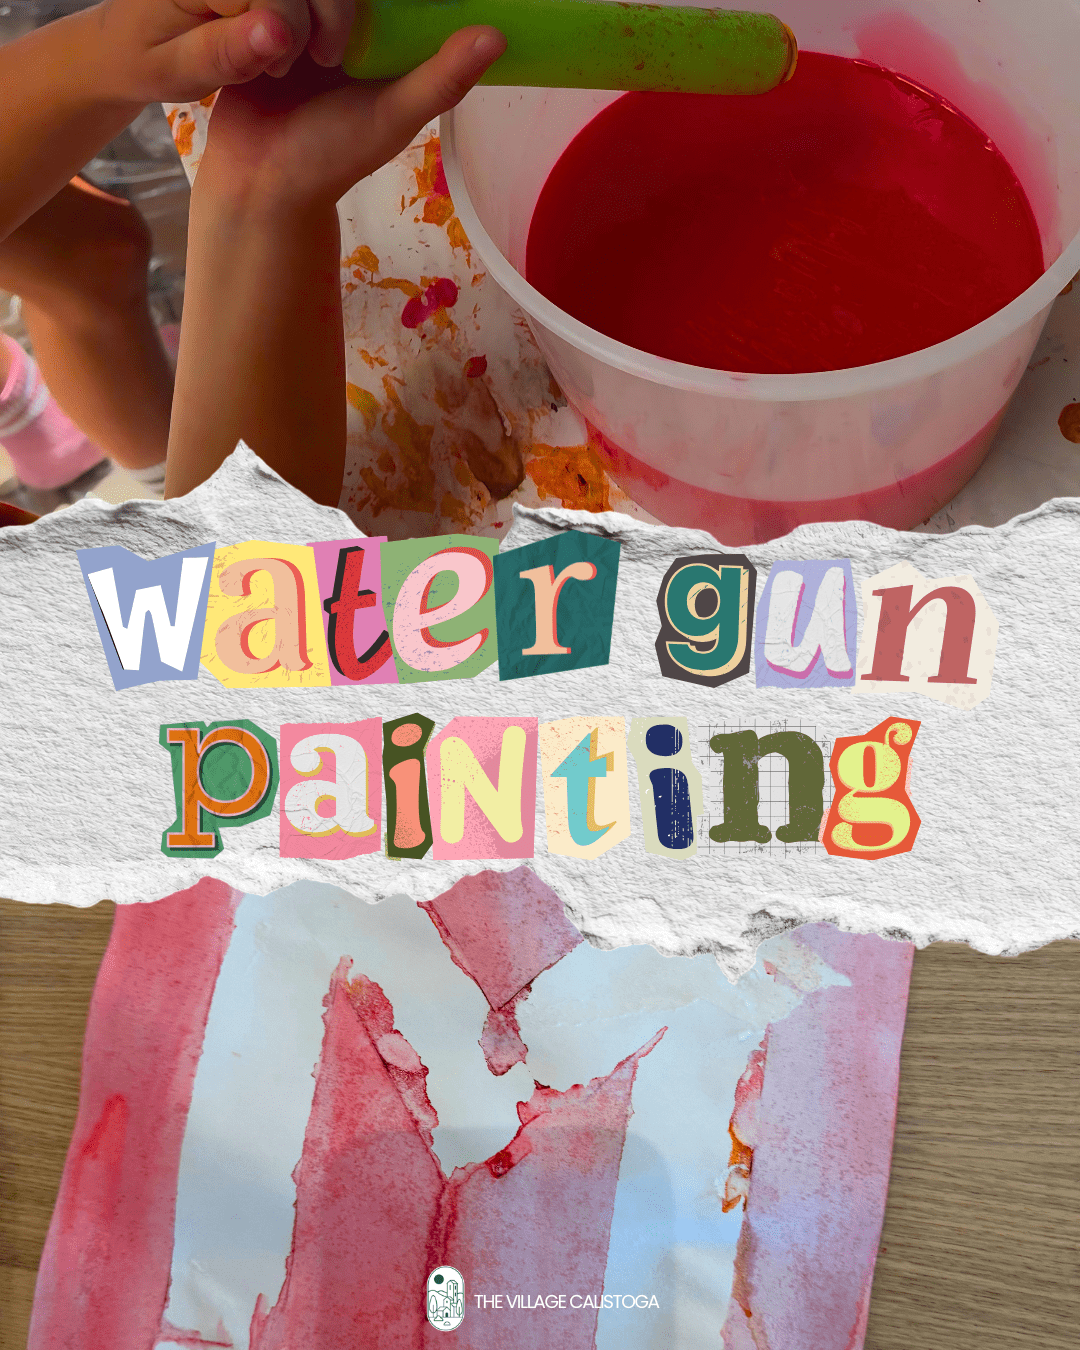
This summer at The Village, we've been turning our play space into an art studio — and this week's activity was one of our favorites yet. Water gun painting is simple, colorful, and just the right amount of chaotic. Here's how we did it, and how you can recreate it at home.
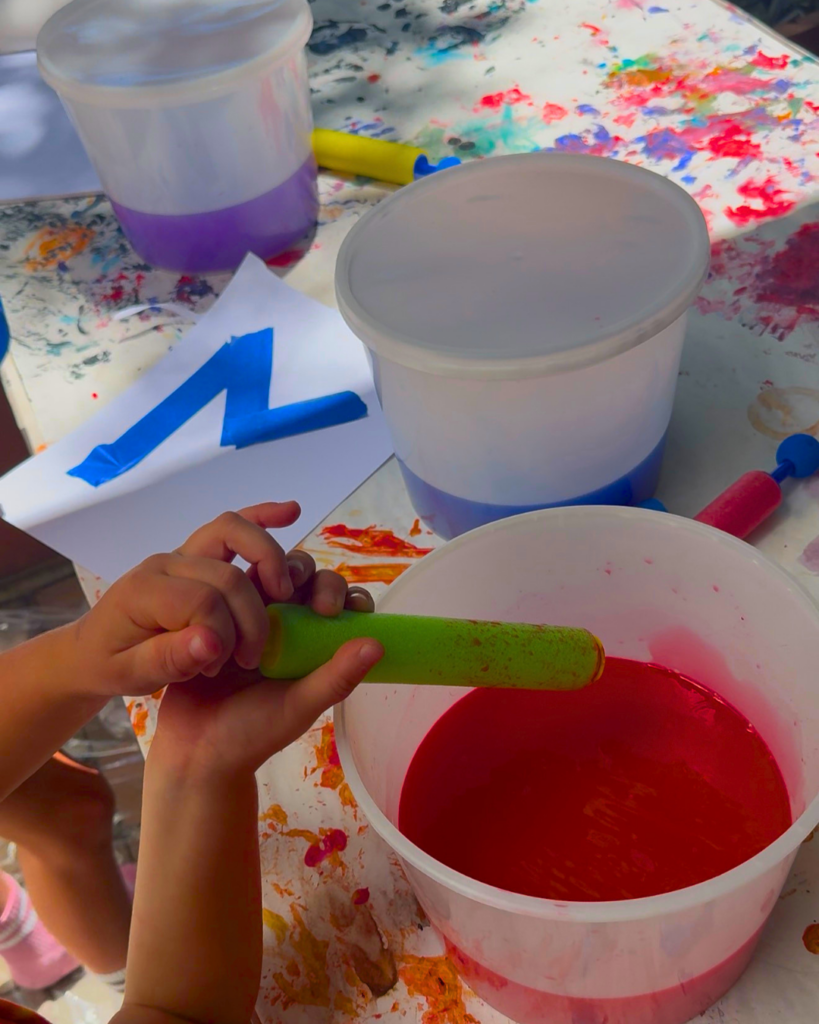
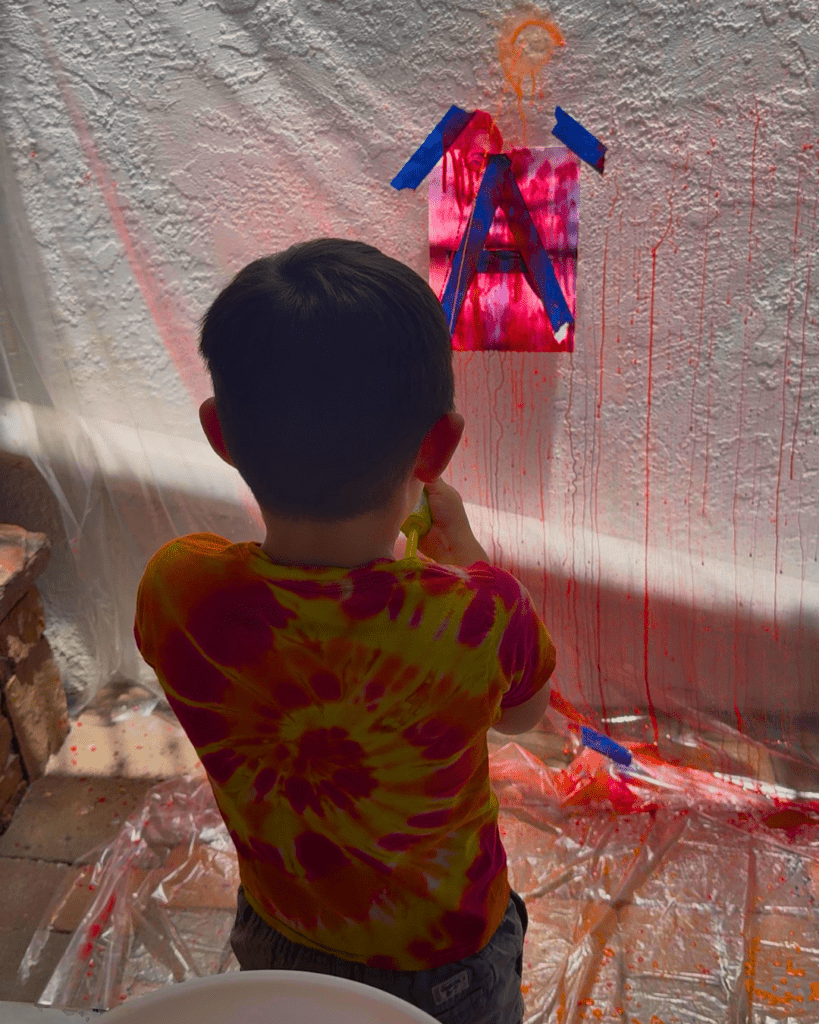
Fill each bucket with water and mix in a generous amount of paint — you want the color strong enough to show up on the paper. Lay plastic sheeting on the floor and tape it up against the wall too, because this gets messy and that's exactly the point.
Tape your watercolor paper directly onto the wall using painter's tape. If you want to get creative, use the tape to make geometric shapes or designs on the paper first — when you peel it off at the end, you'll have clean lines underneath. It's a simple trick that makes the final result look really impressive.
Fill the syringes with the colored water and let the kids go. They can layer colors, aim from different distances, or just go wild.
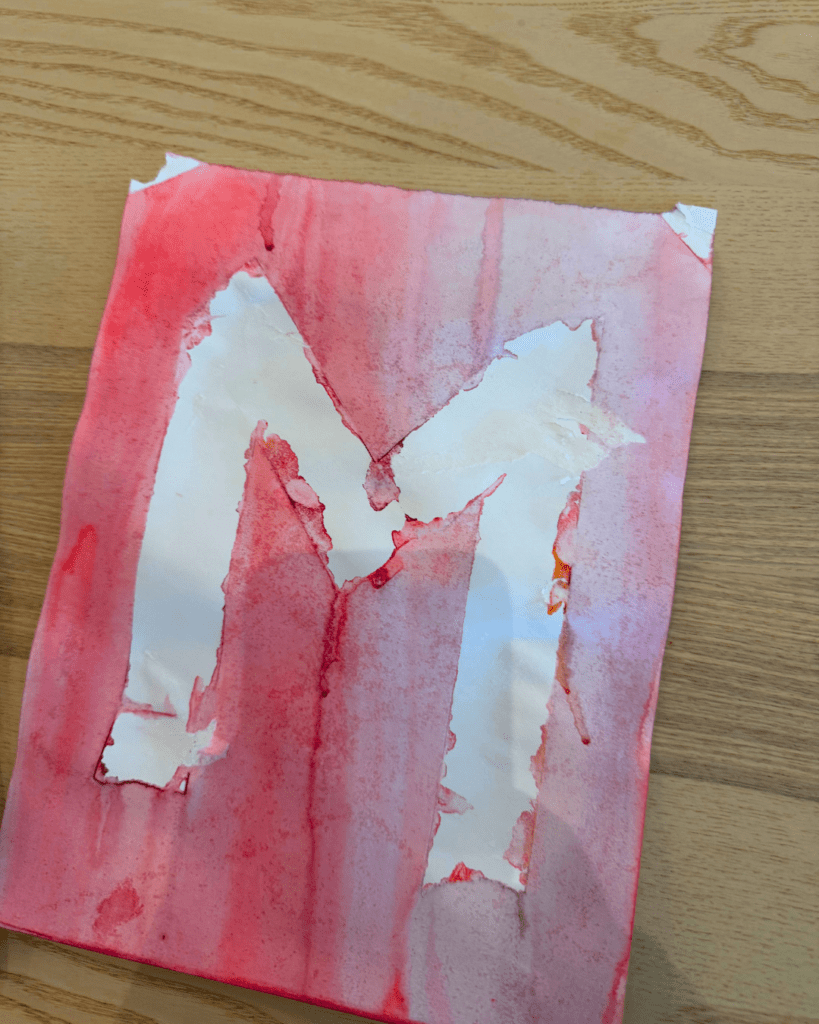
This is one of those activities that works for a wide range of ages and takes almost no prep once the plastic is down. We did it as part of our Summer Camp at The Village, but it's just as easy to set up in your backyard.
Want to see how it turned out? Check out our Reel on Instagram.

Copyrights 2025 | The Village Calistoga | Privacy Policy | Terms of Service | Membership Agreement | Accessibility Statement